Creating a memorable Teacher Appreciation Week is a wonderful way to show gratitude towards educators who make a difference in our lives. This Teacher Appreciation Week Flyer Free Google Docs Template stands out because of its user-friendly format, allowing you to quickly personalize it for your specific needs. Whether you’re a parent, a student, or part of a school committee, this template makes it simple to express your appreciation.
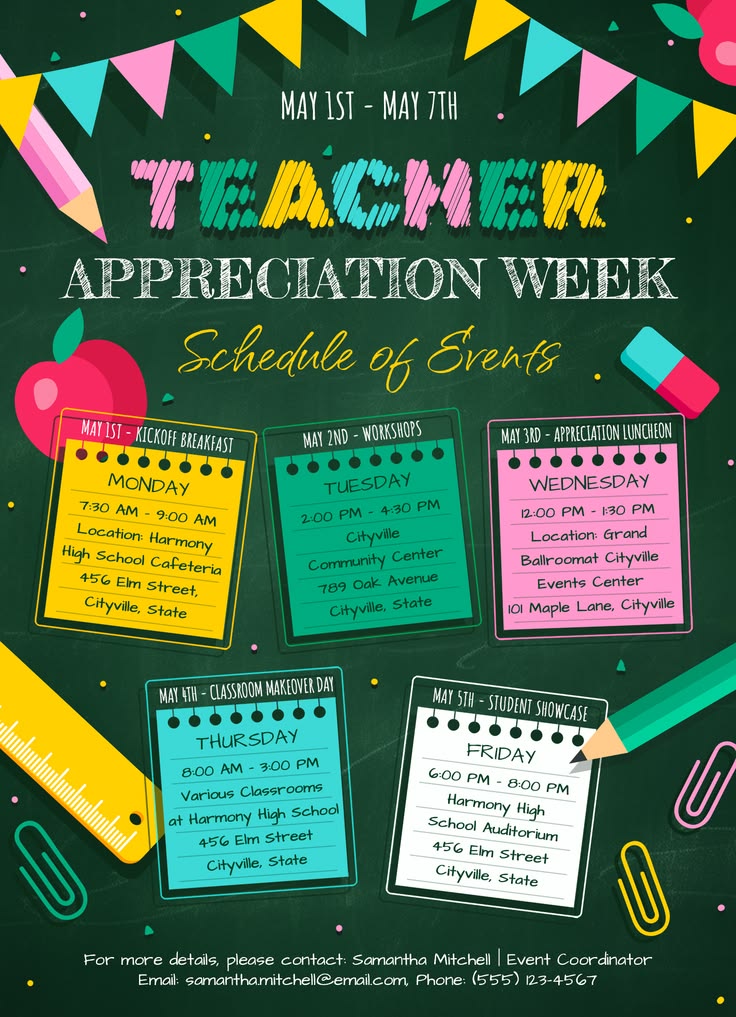
Customizing the Template to Fit Your Needs
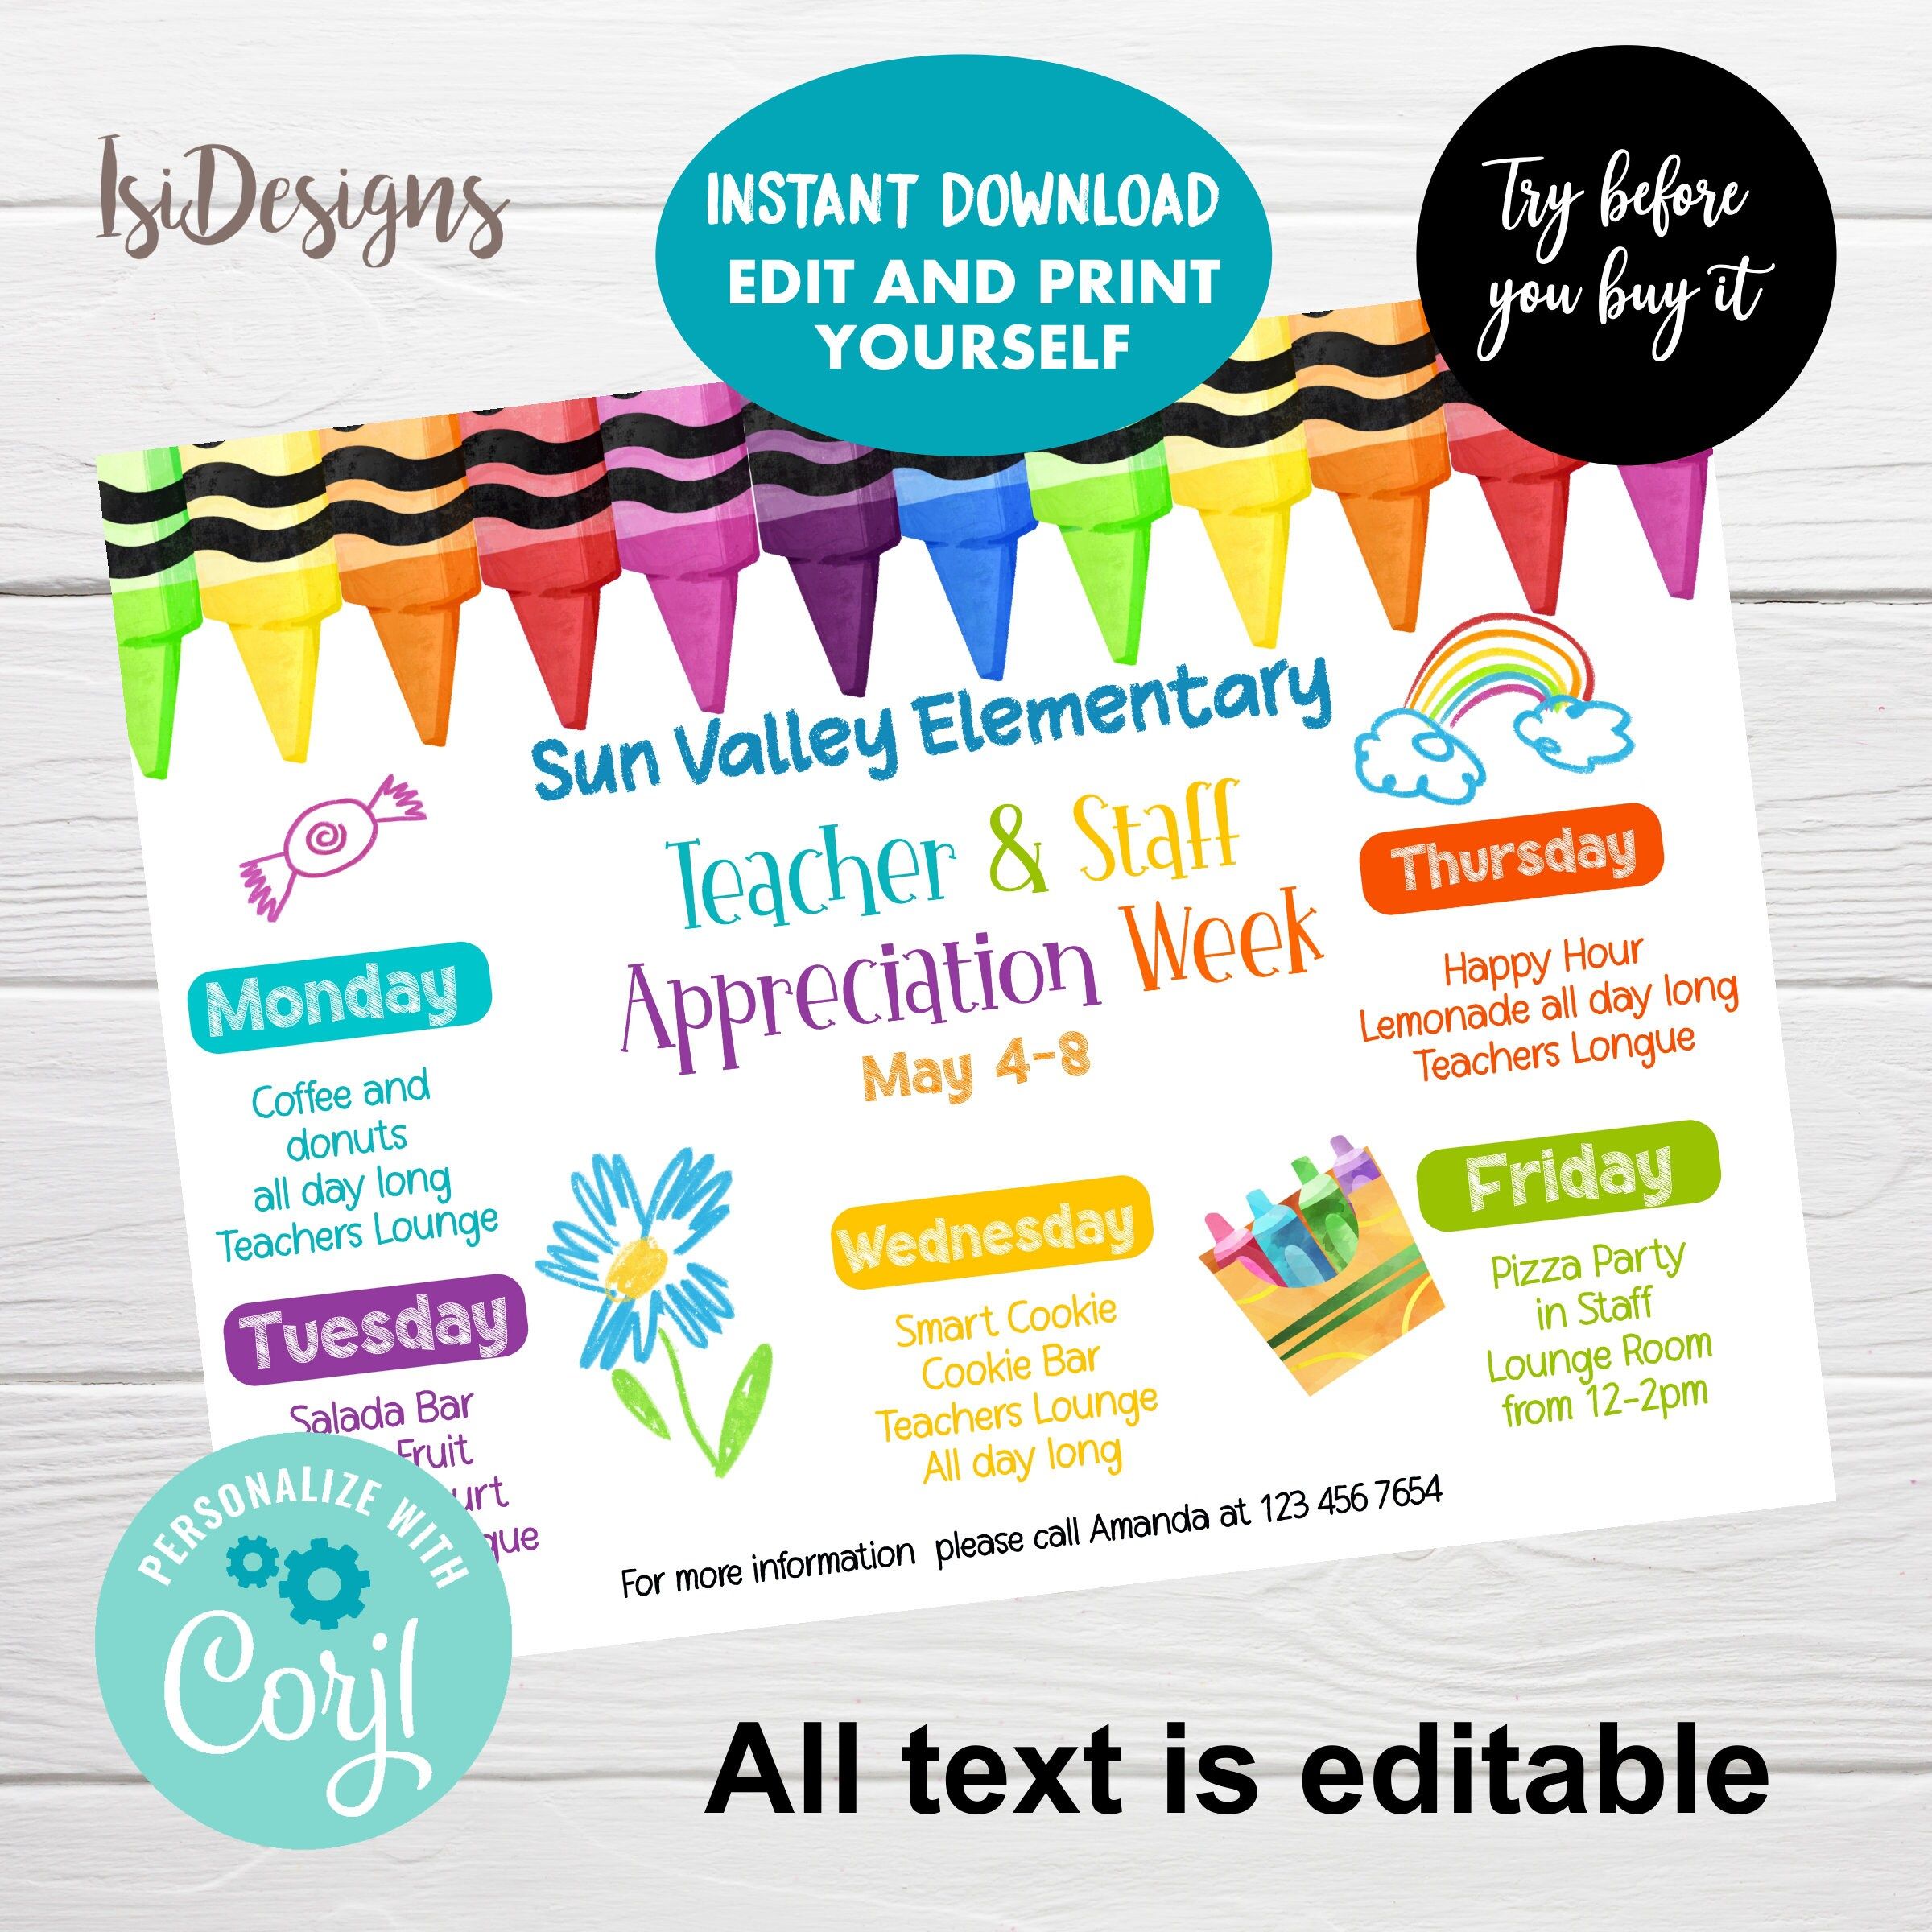
One of the best features of the Teacher Appreciation Week Flyer Free Google Docs Template is its high level of customization. You can easily modify text fields, colors, and images to reflect your school’s spirit or the personality of the teacher you’re honoring. For instance, maybe you want to include a personal message or highlight specific events during the week.
You can also adjust the layout to suit your printing needs. If you’re printing on standard letter-sized paper (8.5×11 inches), the template is pre-set to accommodate that. However, if you prefer a more compact design, consider shrinking it down to fit on a half-sheet (5.5×8.5 inches). This flexibility ensures that you’re not limited to just one style or size.
Sections to Highlight in Your Flyer
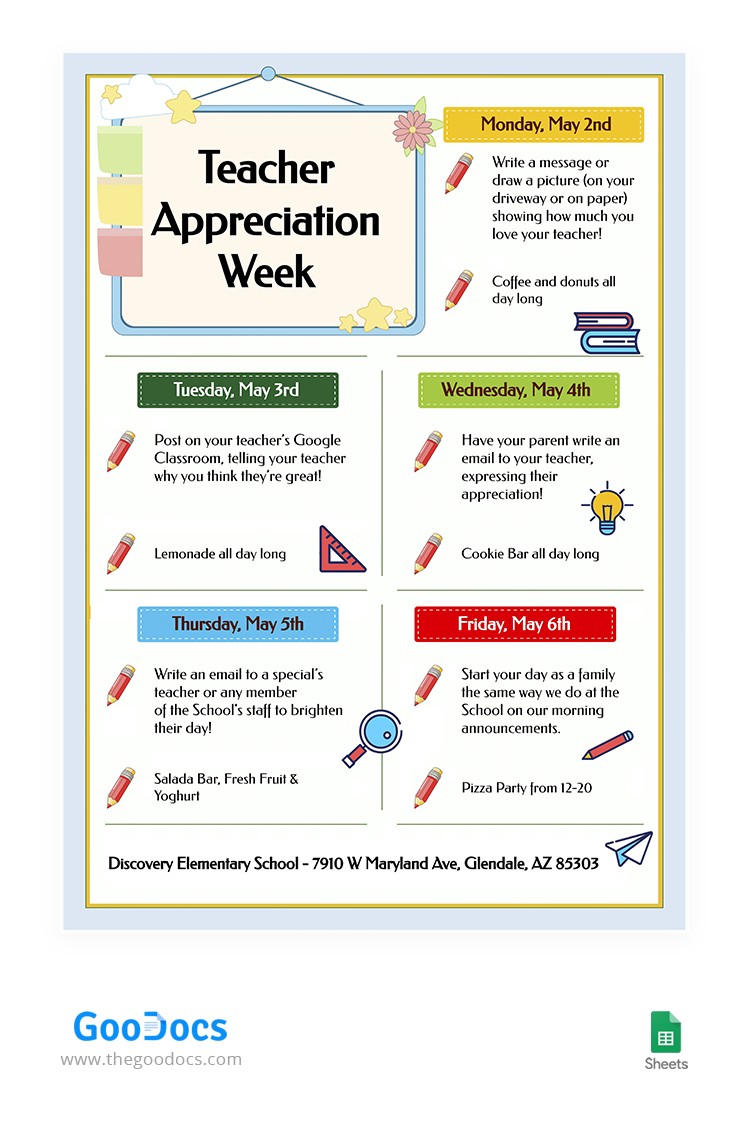
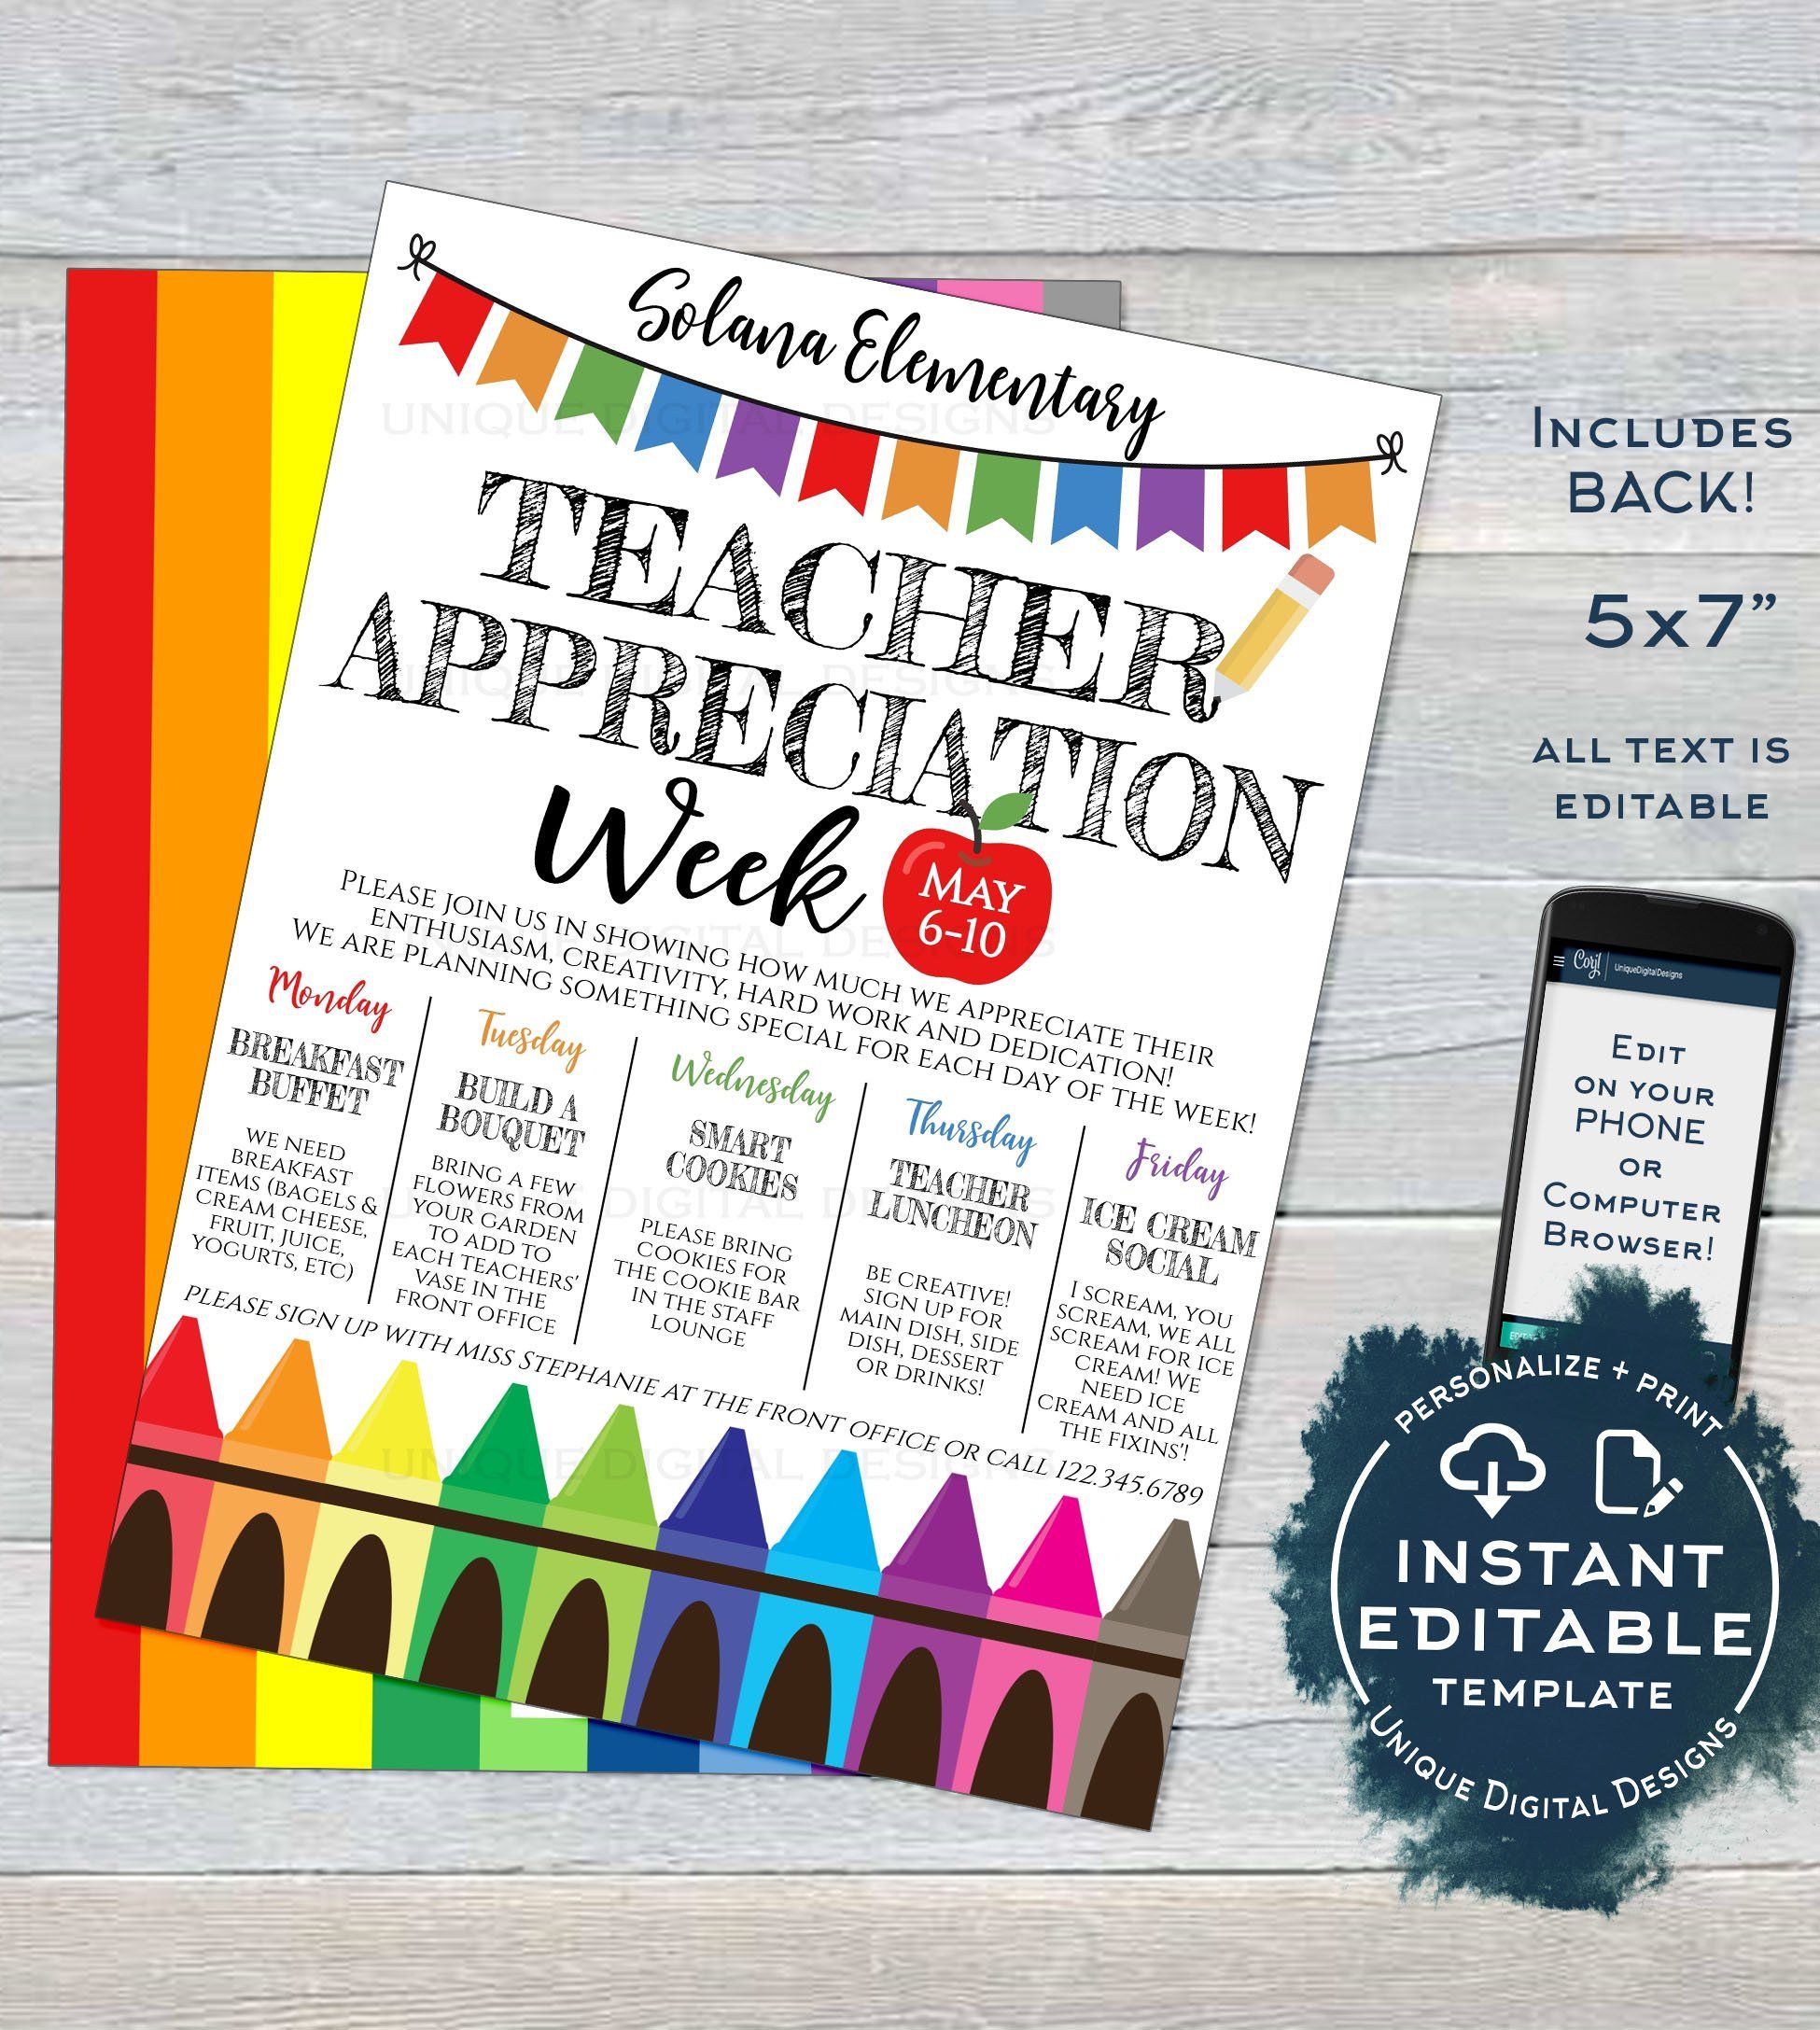
The layout of the flyer includes several key sections that you can easily adapt. Here’s what you’ll find:
- Title Section: Clearly state the purpose of the flyer, such as “Celebrate Our Amazing Teachers!” This grabs attention right from the start.
- Event Details: Include dates and specific activities planned for Teacher Appreciation Week. You might list daily themes or events, such as “Monday: Favorite Book Day” or “Friday: Thank-you Notes.”
- Personal Messages: Leave space for personal notes from students or parents. This personal touch can mean a lot to teachers and shows that their efforts are recognized.
- Visual Elements: The template allows you to insert images or graphics that are school-related, like mascots or class photos, enhancing the visual appeal of the flyer.
Each of these sections plays a crucial role in making your flyer informative and engaging. You’ll want to consider what information is most important to convey to your audience.
Printing and Distribution Tips
Once your flyer is customized, it’s time to print and distribute it. Here are some tips to ensure your flyer looks great and reaches everyone:
- Paper Choice: For a vibrant look, consider using cardstock instead of regular printer paper. Cardstock is sturdier and can hold up better if you hang the flyers around school.
- Color Settings: Make sure to adjust your printer settings to print in color for the best results. If you’re using a school printer, check if it requires any special settings for color printing.
- Distribution: Think about how you’ll distribute the flyers. You might post them on school bulletin boards, hand them out during parent-teacher meetings, or even send them home with students.
Also, consider the digital route. Sending out a PDF version via email can be a great way to ensure everyone receives the information, especially parents who may not come to school regularly.
Incorporating Additional Resources
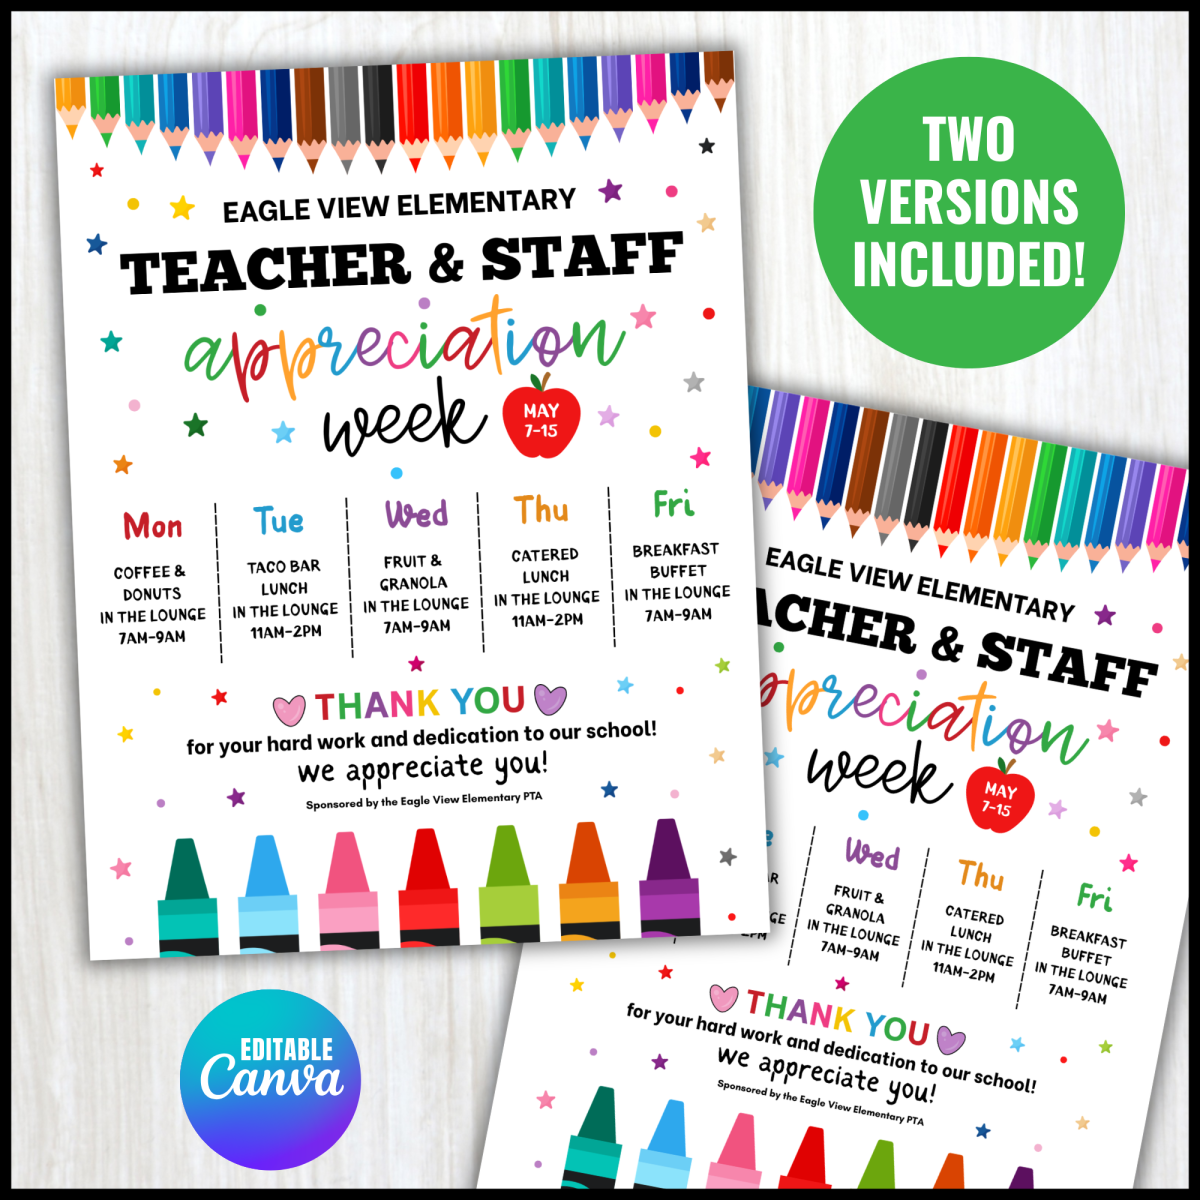
If you’re looking to enhance your Teacher Appreciation Week efforts even further, consider pairing your flyer with other resources. For example, you could create thank-you cards using another free template. This can encourage students to write personal notes to their teachers, further adding to the appreciation.
Another idea is to include a calendar of events alongside the flyer. This can help everyone stay informed about what’s happening throughout the week. Google Docs makes it easy to link to additional resources, so you can create a more comprehensive appreciation package.
Teacher Appreciation Week Flyer Free Google Docs Template Gallery