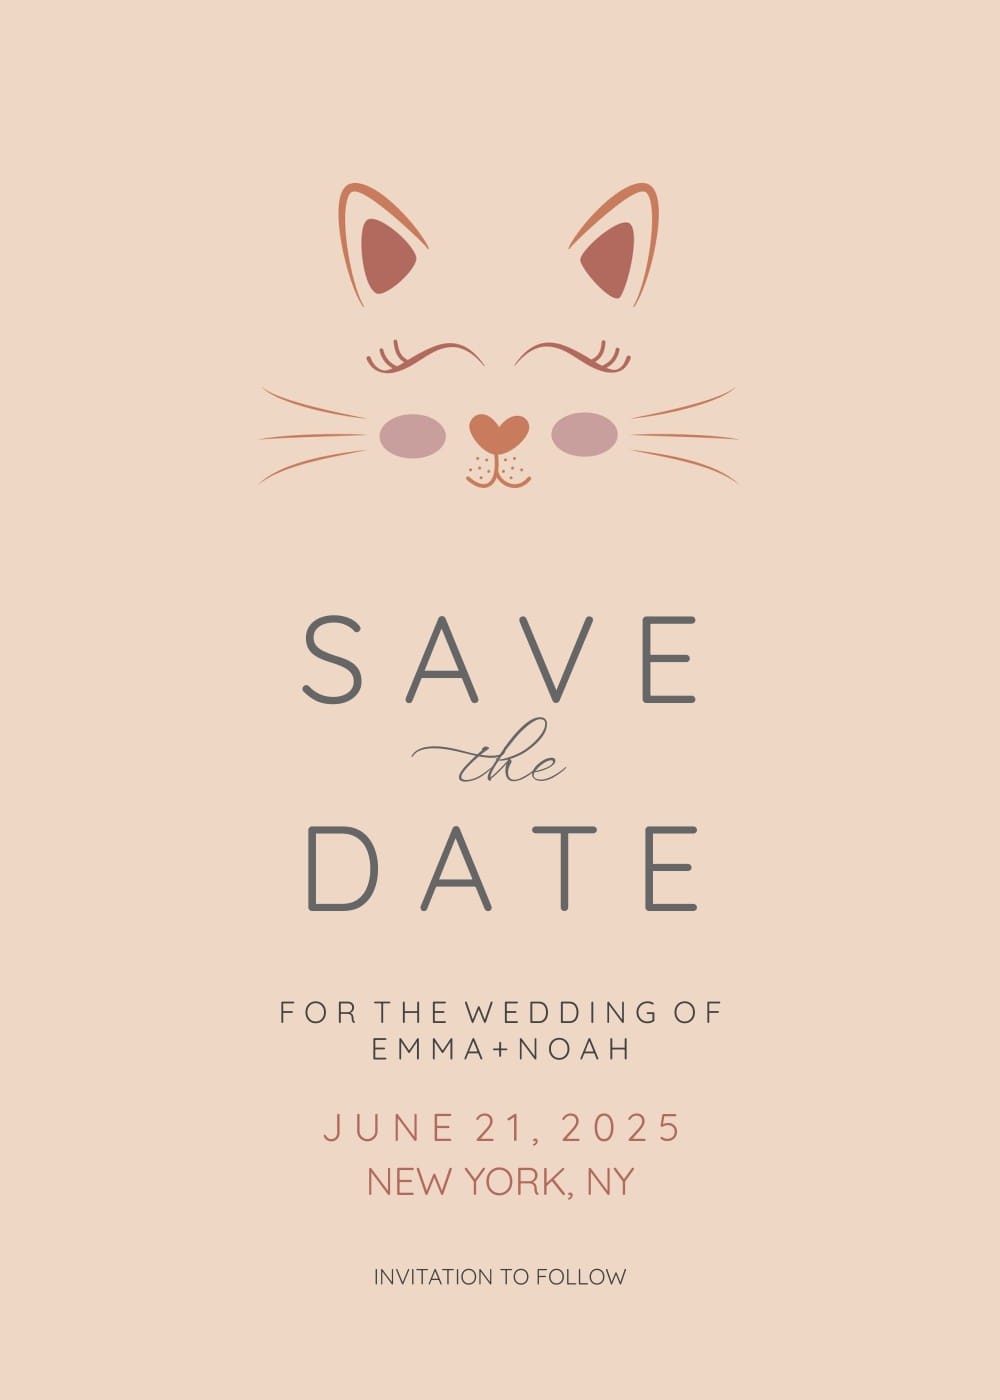
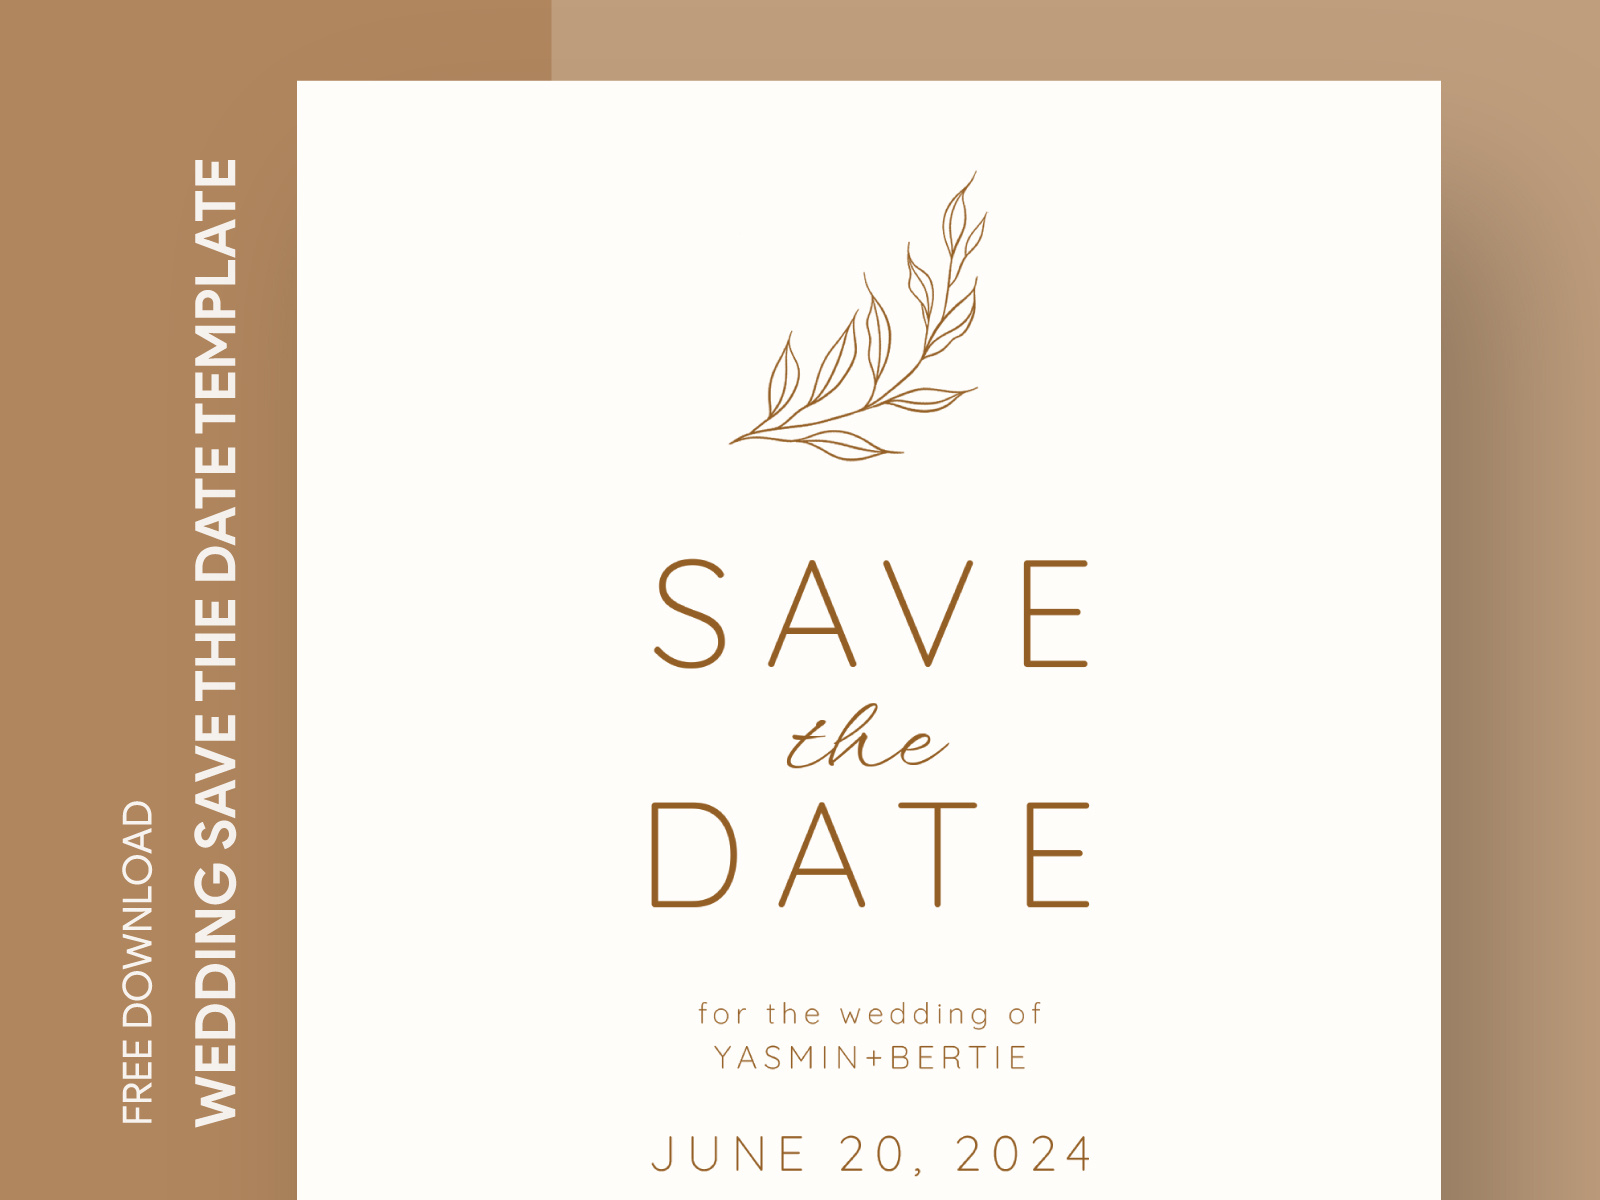
Planning a wedding can feel overwhelming, especially when you’re trying to keep everything organized and stylish. Picture this: it’s a cozy Sunday afternoon, and you’re surrounded by wedding magazines, color swatches, and a cup of tea. You want everything to be perfect, but you also need practical solutions. That’s when the Minimalist Wedding Save the Date Free Google Docs Template comes in handy. This resource allows you to announce your special day with elegance and simplicity, all while keeping your stress levels in check.
Why Choose a Minimalist Design?
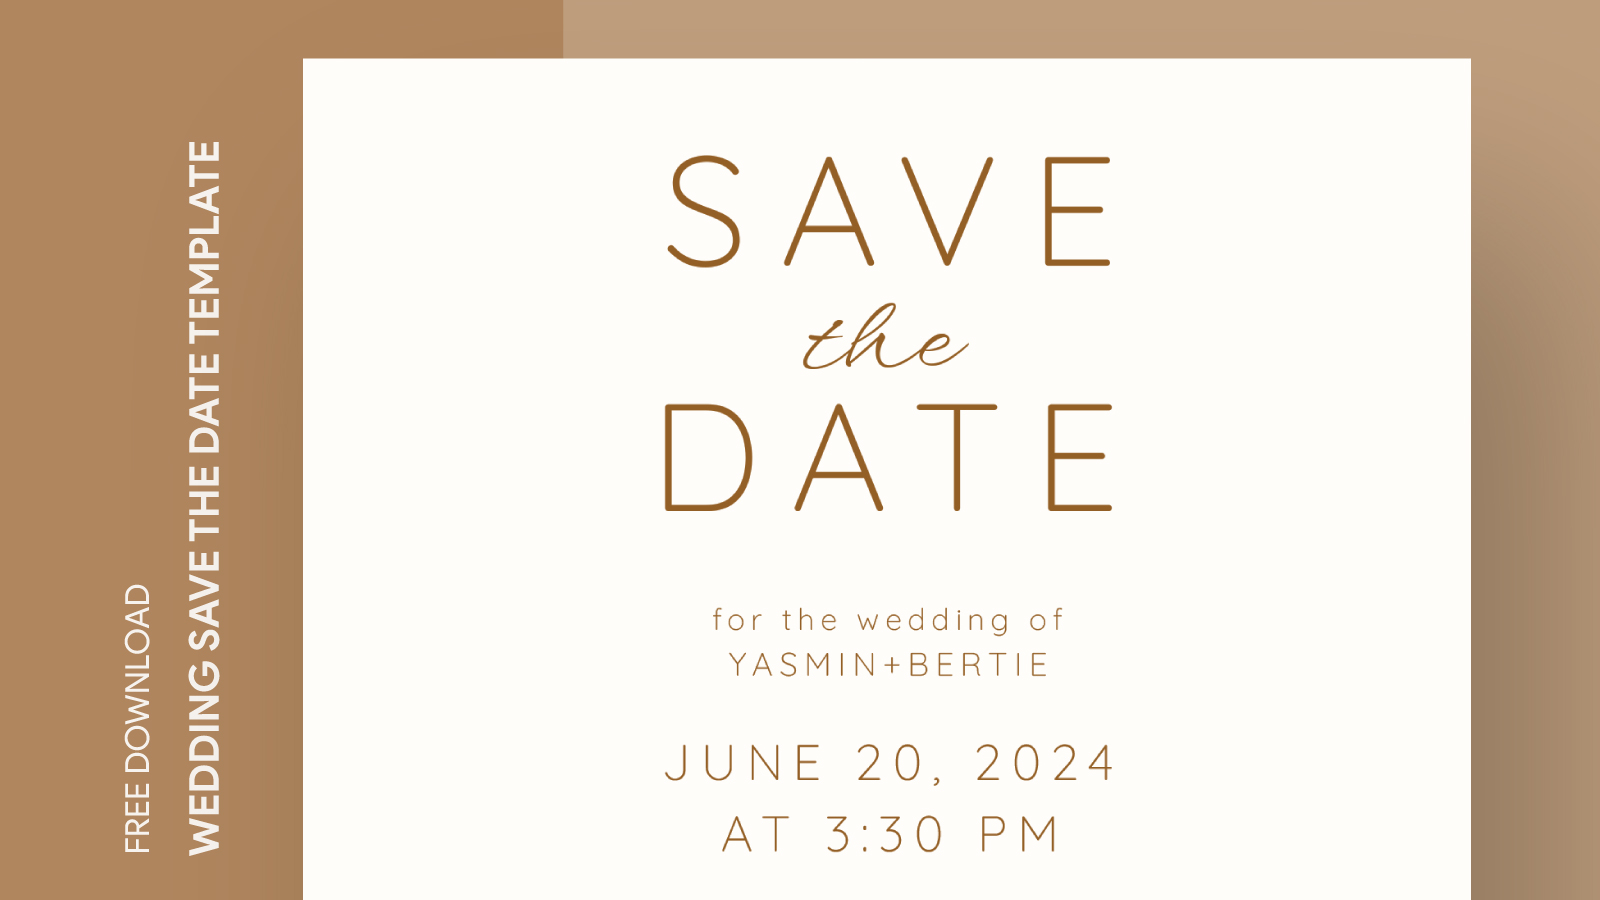
Minimalism in wedding stationery is more than just a trend; it reflects a classic and timeless elegance. Choosing a minimalist design for your Save the Date saves you from the clutter and allows the essential details to shine. By opting for this style, you can focus on what truly matters, like the date, location, and your love story. A simple design often leaves a lasting impression, making your guests excited about the celebration to come.
Additionally, a minimalist template is versatile. It can easily adapt to various wedding themes, whether you’re having a rustic outdoor ceremony or a chic urban affair. Plus, it’s easier to print and less likely to clash with other elements of your wedding décor.
Customizing Your Save the Date Template
One of the most appealing aspects of the Minimalist Wedding Save the Date Free Google Docs Template is its ease of customization. Google Docs makes it simple to edit text, change colors, and even add personal touches like your favorite quotes or a small illustration. For instance, you might choose a muted color palette that reflects your wedding theme or add a personal touch by including a unique font.
Here’s how to get started:
- Download the Template: Access the template and make a copy for your own use.
- Edit the Text: Replace placeholder text with your names, wedding date, and location.
- Personalize the Design: Feel free to adjust the colors and fonts to match your wedding theme. Minimalist doesn’t have to mean boring!
- Print Options: Consider the paper type for printing. A heavier cardstock often gives a more professional finish and feels luxurious.
Choosing the Right Paper and Printing
When it comes to printing your Save the Date, the type of paper you use can make a significant difference. Here are some options to consider:
- Cardstock: A sturdy cardstock (about 80 lb or thicker) is ideal for a polished, professional look. It holds up well, especially if you plan to laminate.
- Matte vs. Glossy: Matte finishes tend to give a modern, understated look, while glossy can be more vibrant. Depending on your theme, you might prefer one over the other.
- Size Matters: The standard size for Save the Dates is usually 5×7 inches. This size is perfect for mailing and fits well in most envelopes.
If you’re printing at home, make sure to adjust your printer settings for the best quality. Use a high-quality print setting to ensure the colors are rich and vibrant. If you’re unsure about printing at home, local print shops can provide professional results and often offer a range of paper options.
Sending Your Save the Dates
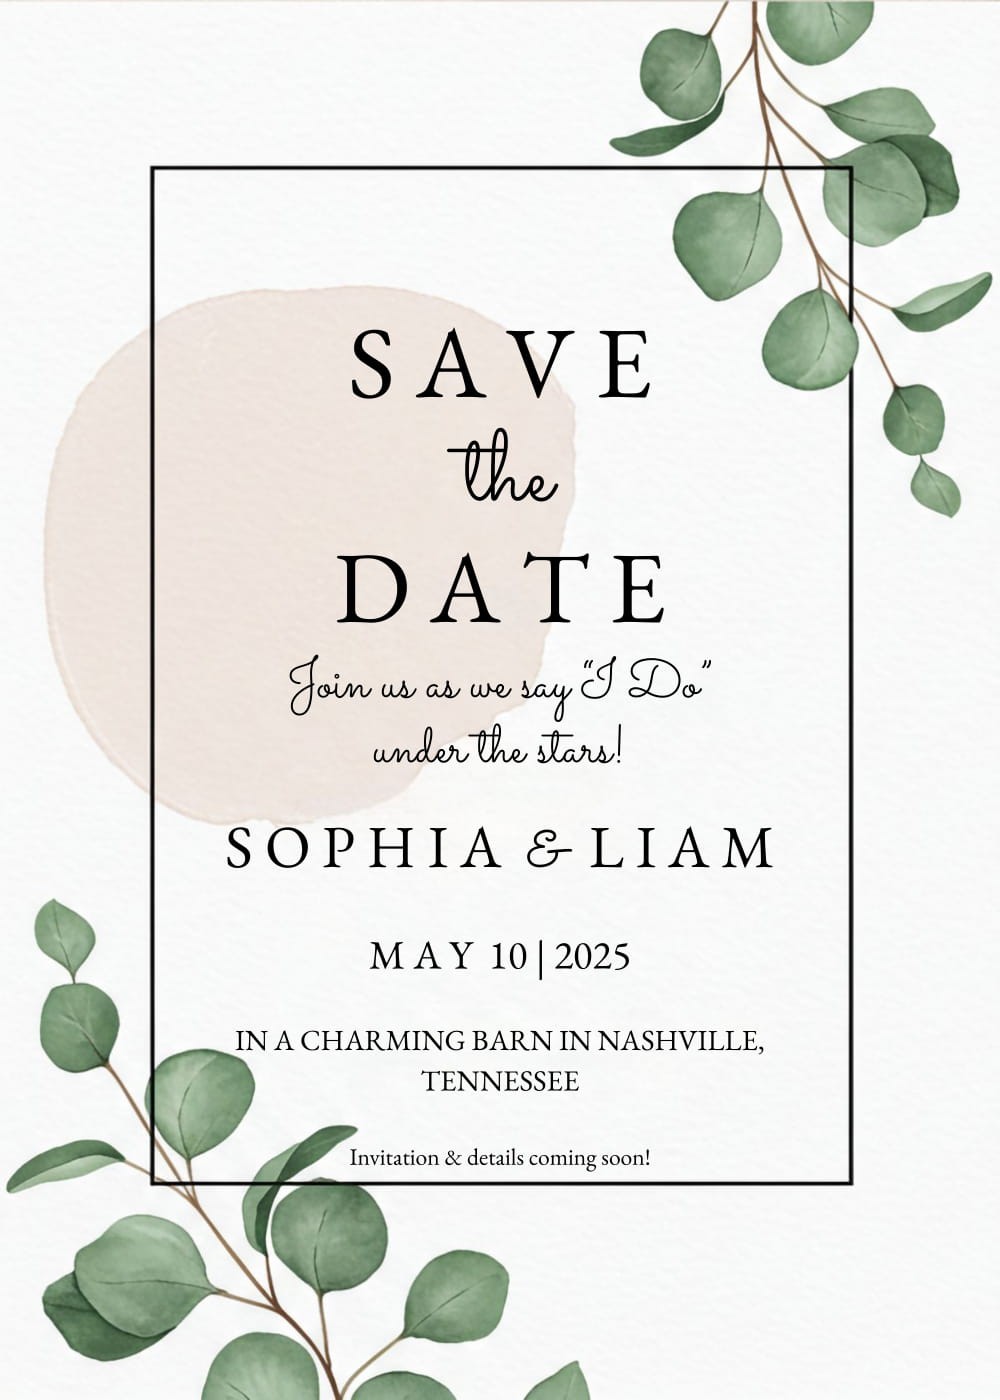
Once you’ve printed your minimalist Save the Dates, it’s time to send them out to your guests. Timing is essential; traditionally, Save the Dates are sent out six to eight months before the wedding. This gives your guests ample time to make travel arrangements and clear their calendars.
When addressing envelopes, consider using clear handwriting or printed labels for a polished look. You might also want to include a small note about your wedding website if you have one, where guests can find additional information.
Minimalist Wedding Save the Date Free Google Docs Template Gallery